![]()
How to make your own plush-animal custom plush toys?
How to make your own plush-animal custom plush toys?
Customized plush toys :Creating a customized plush toy involves adding personal touches and unique features to make it truly one-of-a-kind. How to make your own plush toy?Making your own plush or stuffed animal plush toy can be a fun and creative project. Here’s a general guide to get you started:
1. Customized plush toy—Design your plush toy
Customized plush toy:Start by sketching or creating a design for your custom plush toy. Consider the size, shape, and features you want your plushie to have.
2. Customized plush toy—Gather material
To make a plush toy, you’ll need the following materials:
– Fabric: Choose a fabric that is soft and suitable for cuddling, such as fleece, minky, or cotton.
– Stuffing: High-quality polyester fiberfill is commonly used for stuffing plush toys.
– Thread: Select a thread color that matches or complements the fabric.
– Sewing supplies: This includes scissors, sewing needles, pins, and a sewing machine (optional but helpful).
– Other materials: Depending on your design, you may need additional items like buttons, safety eyes, ribbons, or embroidery floss.
3. Customized plush toy—Create a pattern
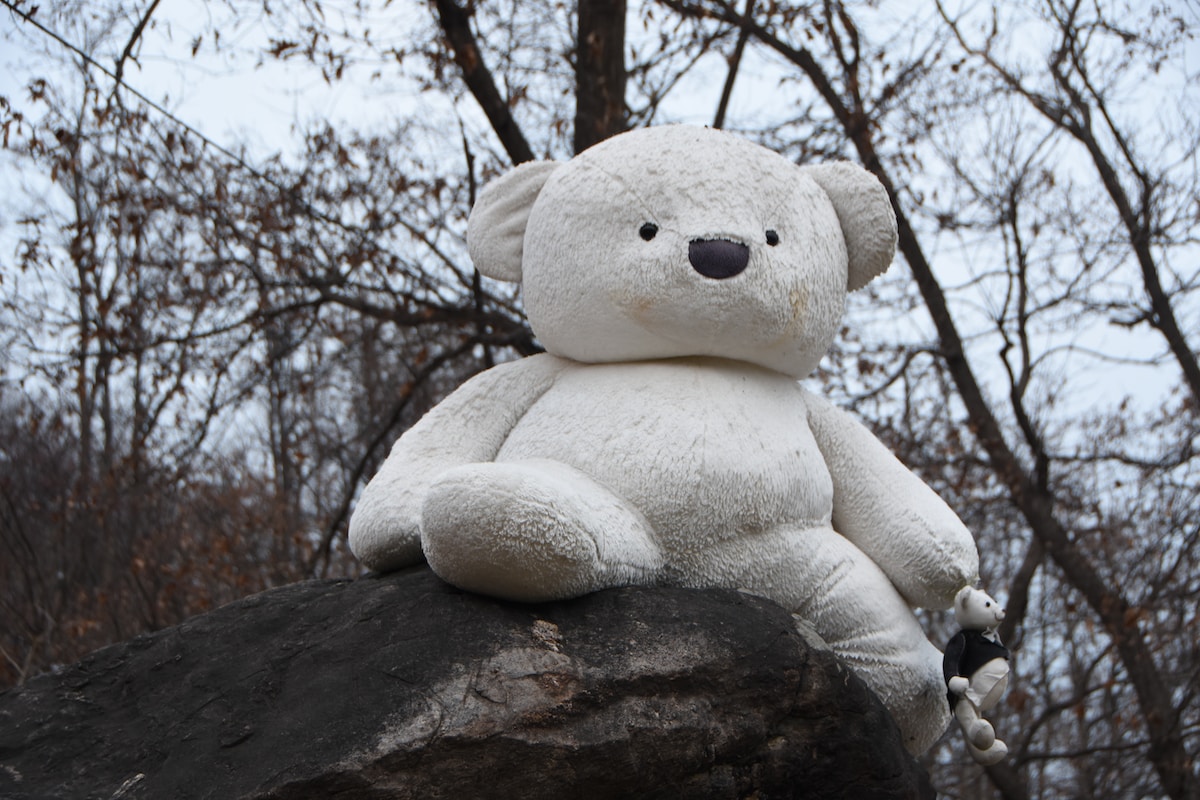
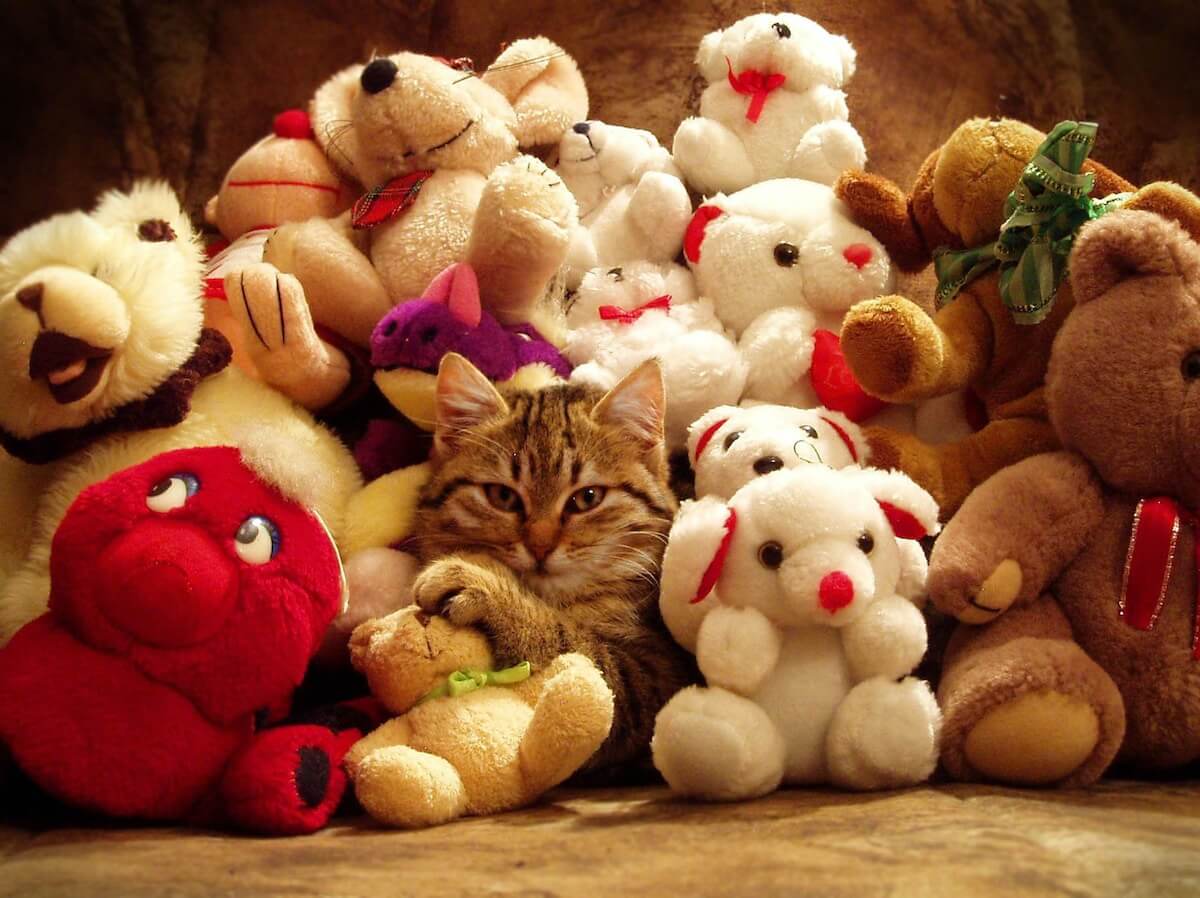
Using your design as a guide, create a pattern for your plush toy. You can draw the pattern directly onto the fabric or create a paper template to cut around.It can be adjusted by us according to your design, and can be processed according to your favourite animal or pattern.For example, these pictures below.
4. Customized plush toy—Cut the fabric
Place the fabric on a flat surface and use your pattern to cut two identical pieces of fabric for the front and back of the plush toy.
5. Customized plush toy—Sew the toy
Pin the two fabric pieces together with the right sides facing inwards. Use a sewing machine or sew by hand, leaving a small opening for turning and stuffing. Make sure to reinforce the seams at the start and end to prevent unraveling.
6. Customized plush toy—Turn the plushie right side out
Carefully turn the fabric inside out through the opening, so the right side of the fabric is now facing outward.
7. Customized plush toy—Stuff the plush toy
Start filling the toy with stuffing through the opening. Use small amounts at a time and distribute it evenly to achieve a plush and cuddly effect. Adjust the stuffing amount to achieve your desired level of softness.
8. Customized plush toy—Close the opening
Once the toy is adequately stuffed, neatly hand-stitch or use a ladder stitch to close the opening. Make sure your stitches are secure and hidden within the seam.
9. Customized plush toy— Add features
If desired, you can sew on additional features like eyes, buttons, or embroidered details to enhance the appearance of your plush toy. Be mindful of safety if the toy is intended for young children.
10. Customized plush toy—Finishing touches
Take the time to inspect your plush toy for any loose threads or imperfections. Trim any excess threads and give your toy a final fluff and shaping.
Remember, this is just a general overview, and the specific steps may vary depending on your design and sewing skills. Feel free to customize and experiment to make your custom plush toy truly unique!
Of course if you want to customized a one-of-a-kind plush toy for yourself, you can contact us with any ideas you have and we welcome your enquiries.